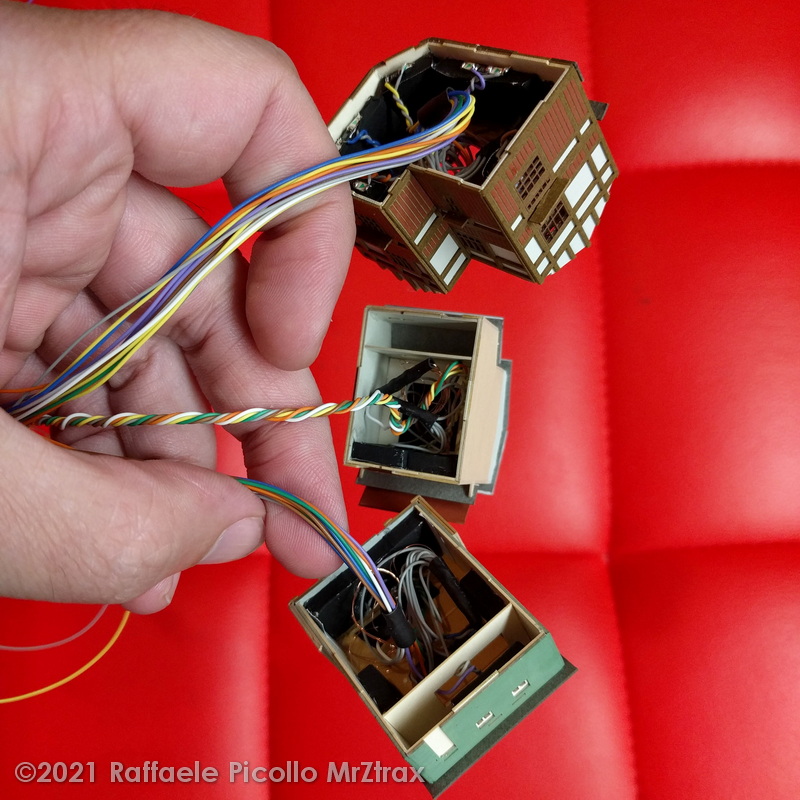
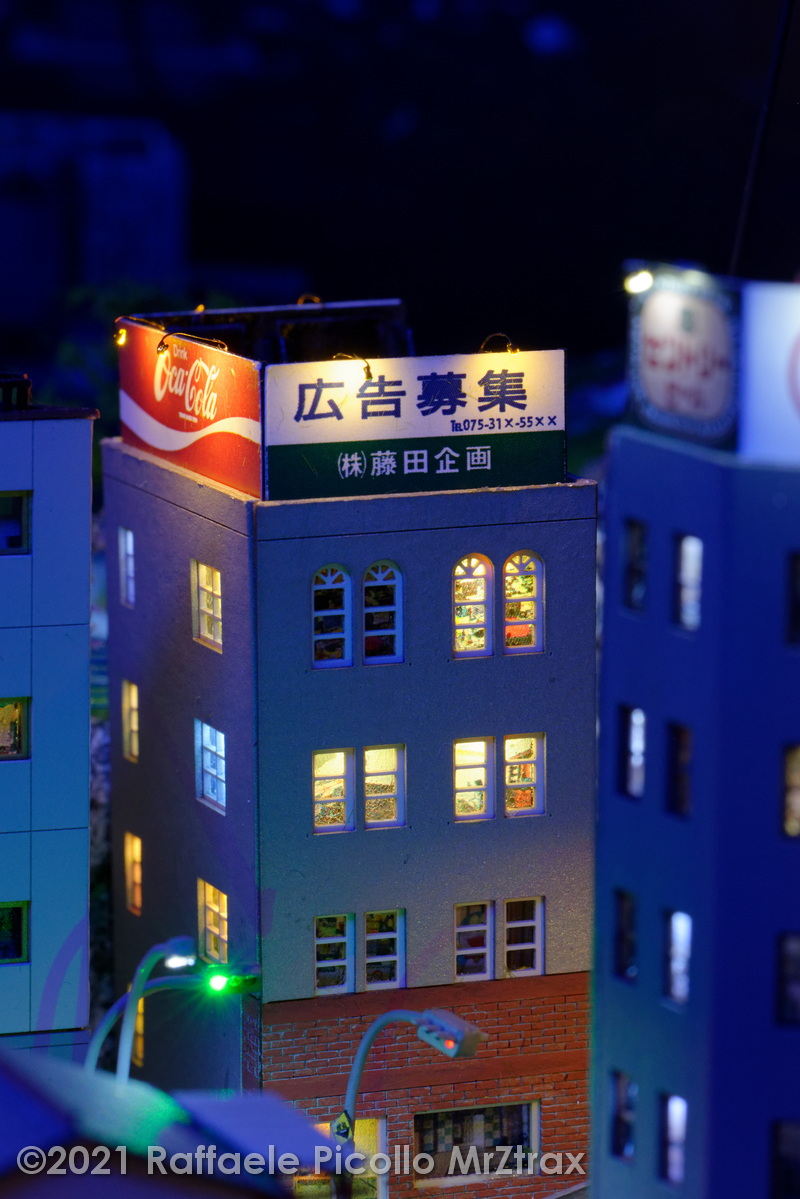
Plexiglas Rooms: "Bright" ideas for our buildings
A little bit of history
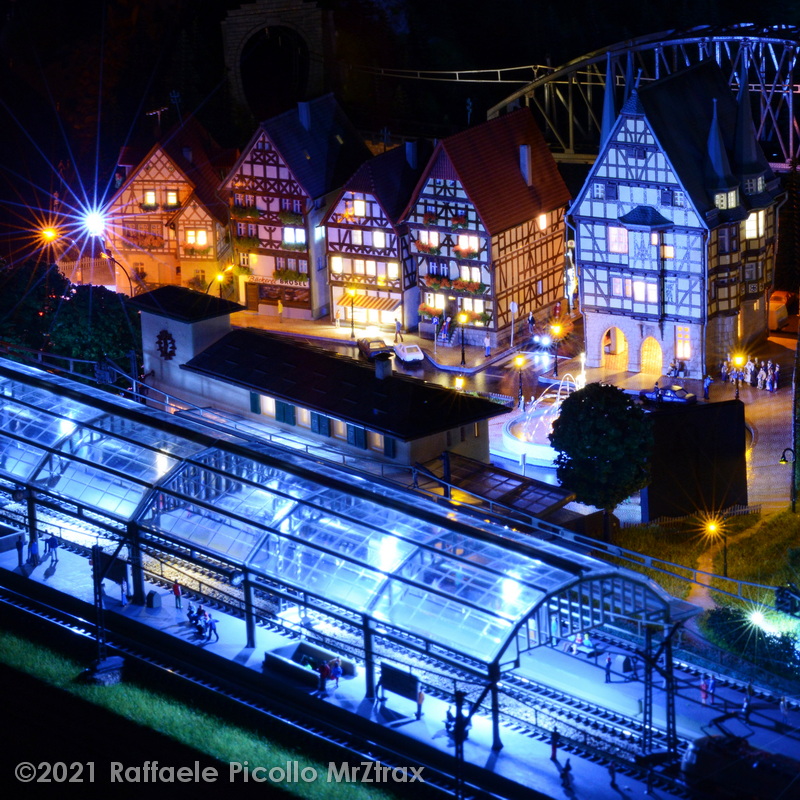
With the evolution of new materials for our hobby and with the availability of more and more beautiful and improved kits, since some years ago I have turned my attention to the creation of lighting systems for buildings in Z scale.
The classic system, still useful today if we want to hurry up, is to use the classic light bulb (well now, at least, an LED!) to be placed in the center of our building. This allows us to light up all of our doors and windows of the small Z scale building at the same time, but it isn't indeed a realistic effect.
To improve the results, a further step will be to put fake curtains at our windows, made from paper or even real fabric, white or coloured, so as not to see the light source from the outside of our model.
Perhaps, then, let us make sure that the light does not filter from the outside by cracks or edges of our buildings. In fact, not only the walls can often be semi-transparent but, above all, the edges between the walls and between them and the roof can let a thin light ray filter outside, nullifying the effect of realism we wanted to achieve.
This is the reason why I have always tried to improve the performance of my models, looking for simple but effective solutions in order to have a better rendering of the buildings, trying to find more and more realistic night landscapes.
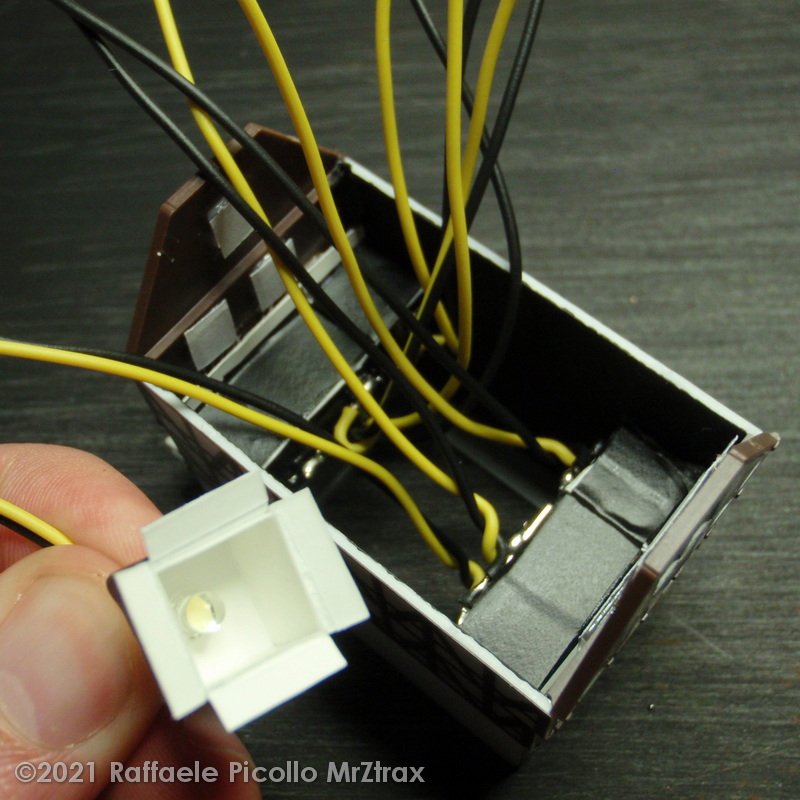 In fact, more than 10 years ago I tried to evolve my building lighting technique, overcoming the classic central lighting, giving a little dynamism to the scene, creating separate lighting for the various rooms. It was necessary to ensure that the lighting of each window was separated from the adjacent ones, so as to be able to switch the lights of any window on and off individually, without their lighting could interfere with adjacent windows.
So I created small cardboard rooms, inside which to place a 3mm LED. This solution, together with the presence of the curtains at the windows I talk above, allowed me to give movement to the scene, being able to switch on and off each window's light individually, recreating the effect as if someone, inside the buildings, were moving from one room to another.
With a simple electronic control circuit, such as using the Busch kit no. 5748 and a little patience, compared to the "classic" method, the overall result improved considerably.
Of course, this method is rather laborious and always has the disadvantage of having to make the windows' glass opaque, so as not to see the direct light coming from inside each single room
and let the observer see directly the LEDs in the different rooms.
Plexiglas Rooms
So I tried to further evolve the system by trying to show the viewer, through the windows, the interiors of the rooms, using the technique I called "Stanze di plexiglas" or "Plexyglas Rooms" or "Plexiglasräume".
This technique allows you to occupy, for each window, a very small space inside the building, obtaining several advantages:
- achieve realistic looking windows, with a transparent glass surface;
- avoid making the windows opaque with curtains or similar systems, with better performance and saving precious time;
- view the interior of the rooms, using photographs of our liking, with a pleasant effect of depth of the scene (it won't really be 3D, but it quite looks like it);
- easily separate the lighting of the various rooms which can be switched on, off and adjusted individually, without interference between them;
- eliminate the phenomenon of light that filters outside from corners and cracks in the building.
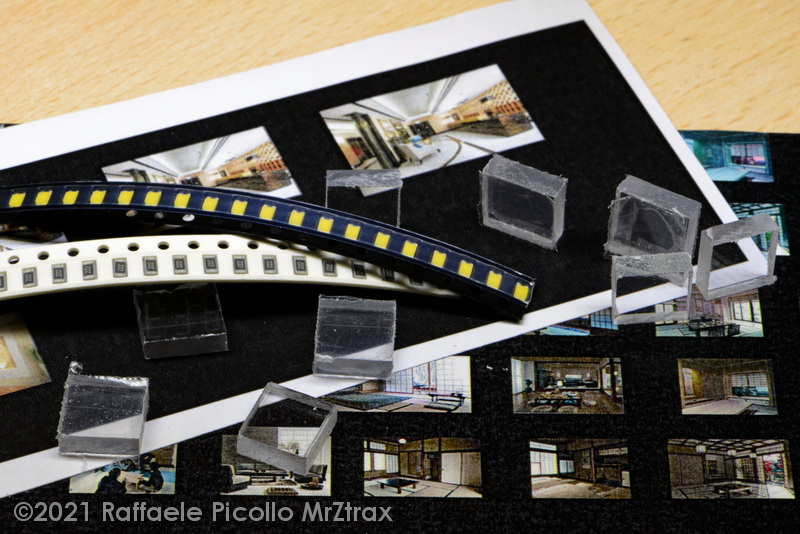
To do this, the necessary material is as follows:
- ✪ Transparent Plexiglas sheet of adequate thickness, minimum 2mm and up to the thickness you prefer, depending on the size of our model and the effect you want to achieve. Normally I use a 3.5mm thickness. The smaller the thickness and the less depth effect will be, the greater the thickness and the more evident the side walls of our "Plexiglas rooms" can be. We pay attention to using Plexiglas rather than the cheaper PMMA, since the latter is more difficult to cut, melting during cutting and adhering to the just separated parts and the saw blade;
- ✪ SMD LEDs, with dimensions proportionated to the thickness of our Plexiglas. Here too, I mainly use LEDs 1206 (3.2x1.6mm) or 0603 (1.6x0.8mm)
- ✪ SMD resistors, similar in size to the LEDs. Here too, I mainly use LEDs 1206 (3.2x1.6mm) or 0603 (1.6x0.8mm), their values should be calculated on the voltage of our mains and on the light's flux we need to have;
- ✪ AWG30 or AWG24 thin single core wire;
- ✪ Rooms' color real pictures in 1:220 scale, with various subjects depending on the setting we want to recreate (residential, offices, shops, etc.).
Examining our kit under construction, we must first take the measurements of our doors, windows, shops' showcases that compose it, with a margin of about 2mm (in any case depending on the thickness of the Plexiglas) on each of the 4 sides.
Then we move on to cut the Plexiglas using a circular saw with a suitable blade and eventually smooth out the cut with sandpaper. The result we will obtain will be Plexiglas parallelepipeds of the desired dimensions.
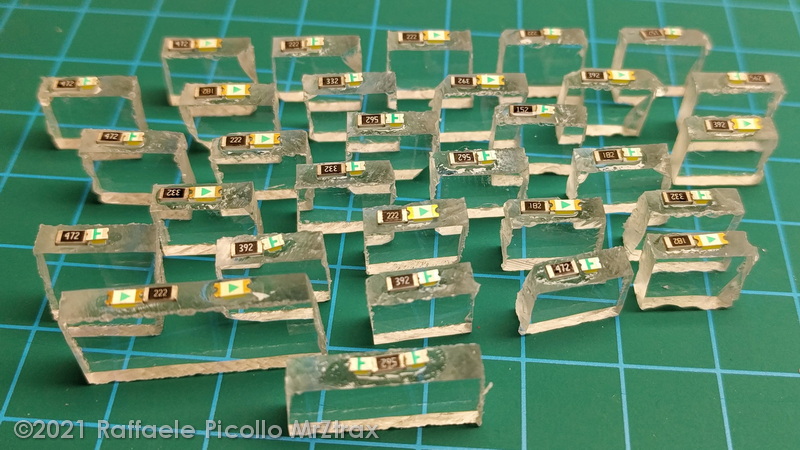
The resistors can be choosen of different values, always calculating (depending on the type of its LED) that the light is neither too high nor too low.
Obviously we will not worry about this, so we can also put them all the same, if we then feed our LEDs with an electronic regulation system.
Normally the resistors must be chosen to have a current that can go from 1mA up to 10mA, obviously based on the power supply voltage that we will use. For a 5V power supply, the values can therefore be in the 500~5000Ω range (the higher value, the lower the light will be).
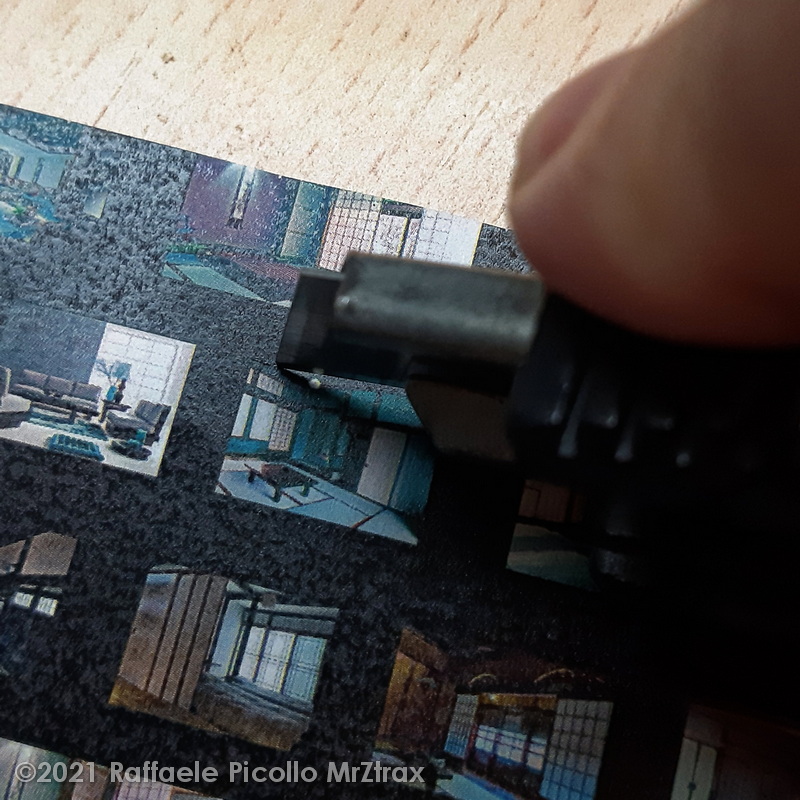
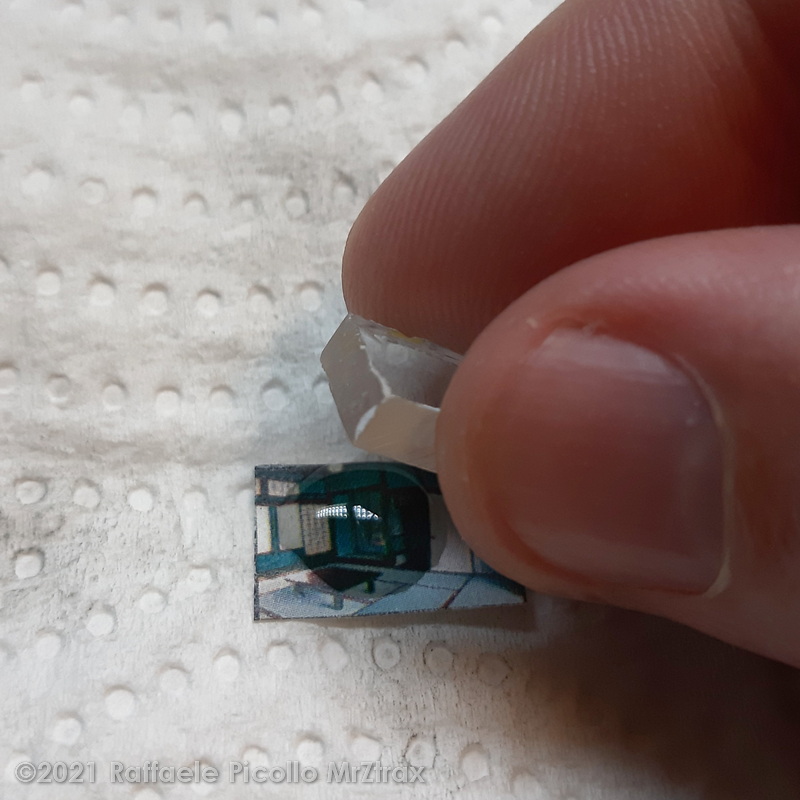
The next step is to cut out the photos of the rooms, then we put a drop of transparent glue (which acts by contact, that is, do not wet the photo paper) and we press our plexigas into it, making sure that the LED is on the upper part of the subject of the photograph, as if it were a lighted chandelier in the room and we wait for complete drying.
Once the glue has dried, we will trim the edges of the photograph exactly along the Plexiglas, then proceed to solder the components to each other and to the power cables with a very fine tip soldering iron, paying attention to the polarity indicated on the LED with two perpendicular lines or one arrow.
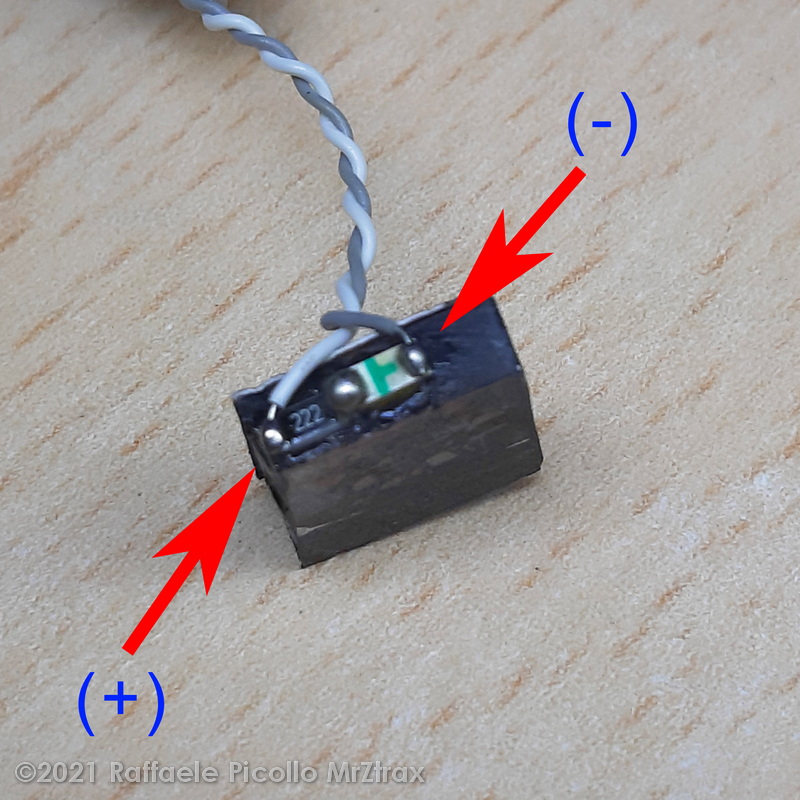
At this point we have to be quick and perform a very fast soldering in order not to damage the LED and, please, ventilate the room because the cyanoacrylate glue could release potentially dangerous vapors.
After soldering, it will be convenient to paint the 4 short sides of the Plexiglas room black, using either enamel or a black permanent marker (quicker). We can even paint the SMD components, for a better result. In this simple way, we will prevent any risk light could pass from one room to adjacent ones.
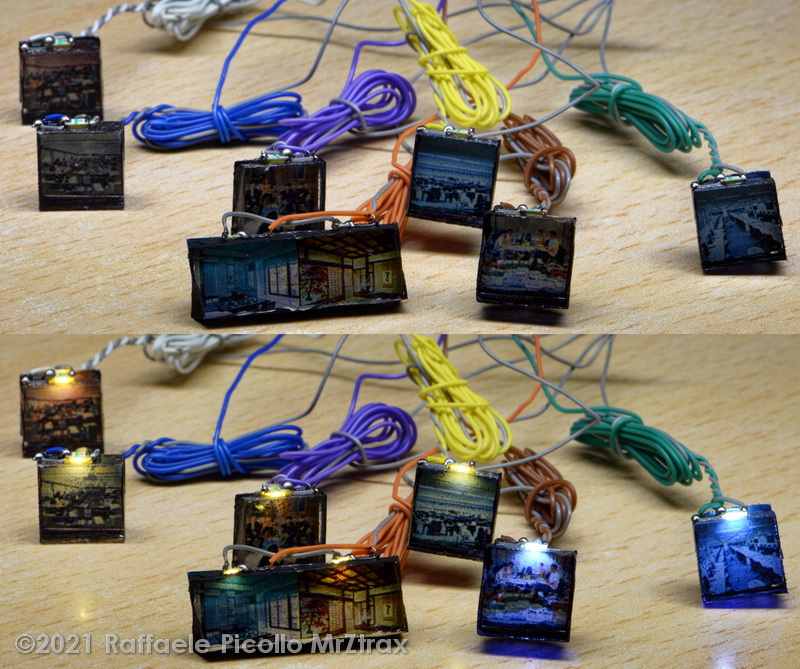
Before going further, we should test our circuits to be sure everything is OK.
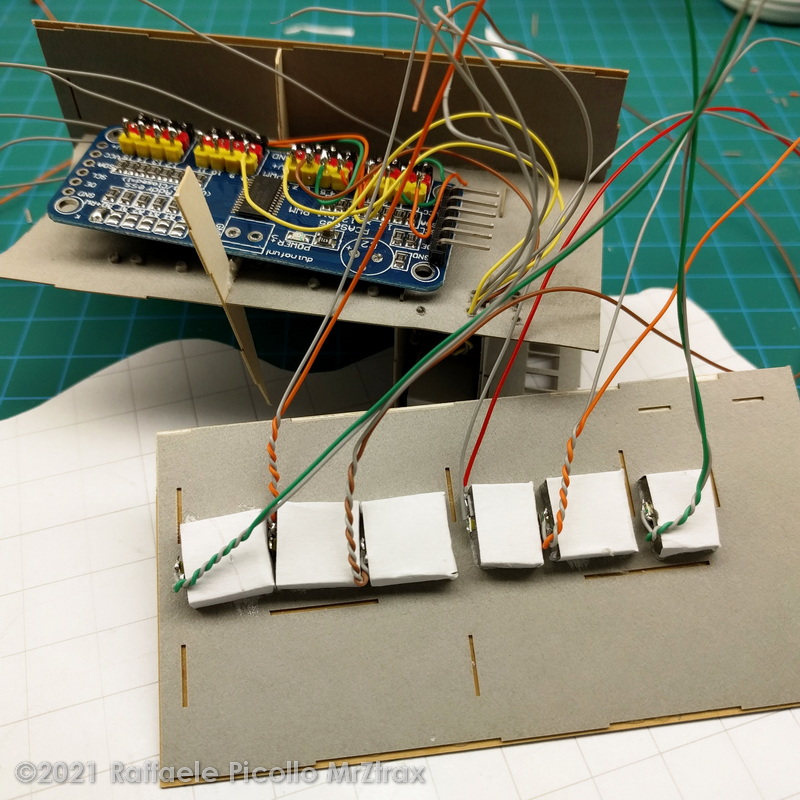
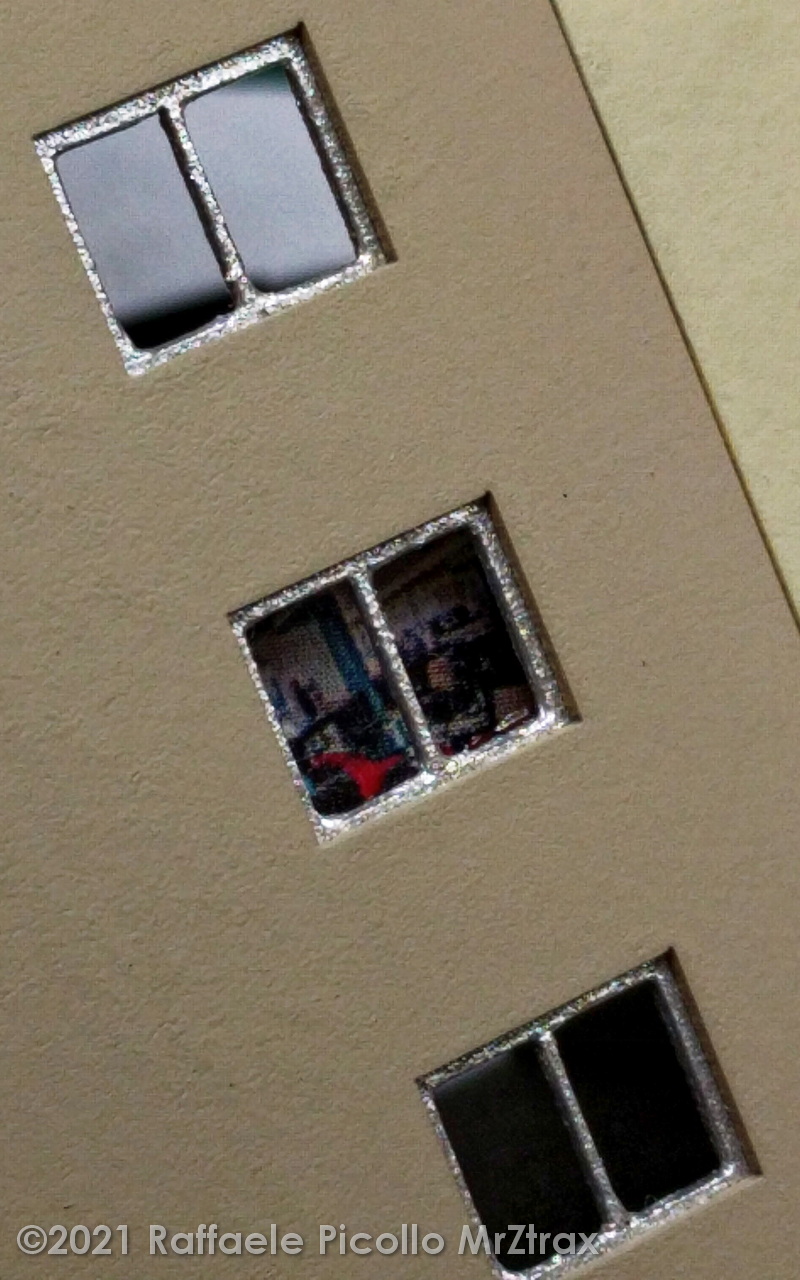
We now glue the little room inside our walls, putting a small amount of glue on its corners, so that it does not come visible from the outside. This method can be applied to all our buildings and our work will surely be rewarded by an original result, which will give an extra touch of realism to our models!
Finally, some tips for the construction of buildings, whatever the lighting technique of their interior:
❖ During the construction of the buildings, whether they are made from plastic, cardboard, wood or 3D printing, check that the walls are opaque to the light and, if necessary, apply black cardboard or paint the inside of the walls;
❖ Similarly, when assembling the walls, check that the light cannot pass from the edges. If this is the case, from the inside, you can add glue along the internal edge which, once dry, can be painted with black colour;
❖ Pay further attention to the positioning of the roof, whether it is a pitched roof or a flat roof, along the connection with the perimeter walls. Even now it must be checked that the light does not filter and possibly use the black-colored glue technique, if you can work from the inside of the model;
❖ As an alternative to the use of the glue, especially if you cannot work from the inside due to the limited space or to the presence of our "Plexiglas rooms", but also in all those cases where you do not want to permanently glue the parts, leaving the interior open for inspection in the future, black plasticine can be used as a sealant. Plasticine gives us the advantage of not wetting the surfaces (paper or cardboard are safe) and not getting into the interstices and cracks, instead of the risk when using liquid glues. By putting plasticine on the internal corners of the building (after the glue used to fix the walls is dry), we'll ensure excellent masking of the light. Compared to the use of the colored glue, we will also have the advantage of doing much earlier and, finally, of making removable seals, since the plasticity of the material will allow us to fix the parts with a weak holding force.
